
Intro: The Settings page holds your personal account details, two-factor authentication, and workspace administration (team members, custom domain, developer options, and access and security).
1. Open Settings
- Click your name at the bottom left of the menu.
- Select Settings.
2. Account
The Account page opens by default. It shows your first name, last name, email, and the interface theme.
- Edit your First name or Last name and click Save.
- The Email field is greyed out and cannot be changed here.
- Under Interface theme, choose Light, Dark, or System.
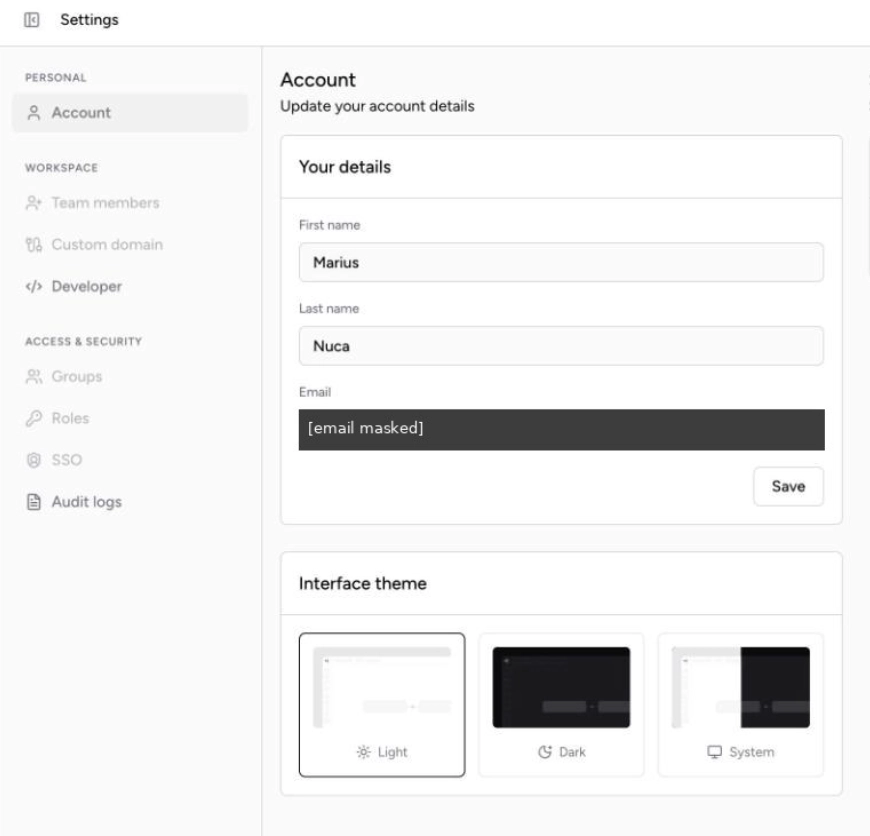
Settings > Account. Email masked.
3. Two-factor authentication
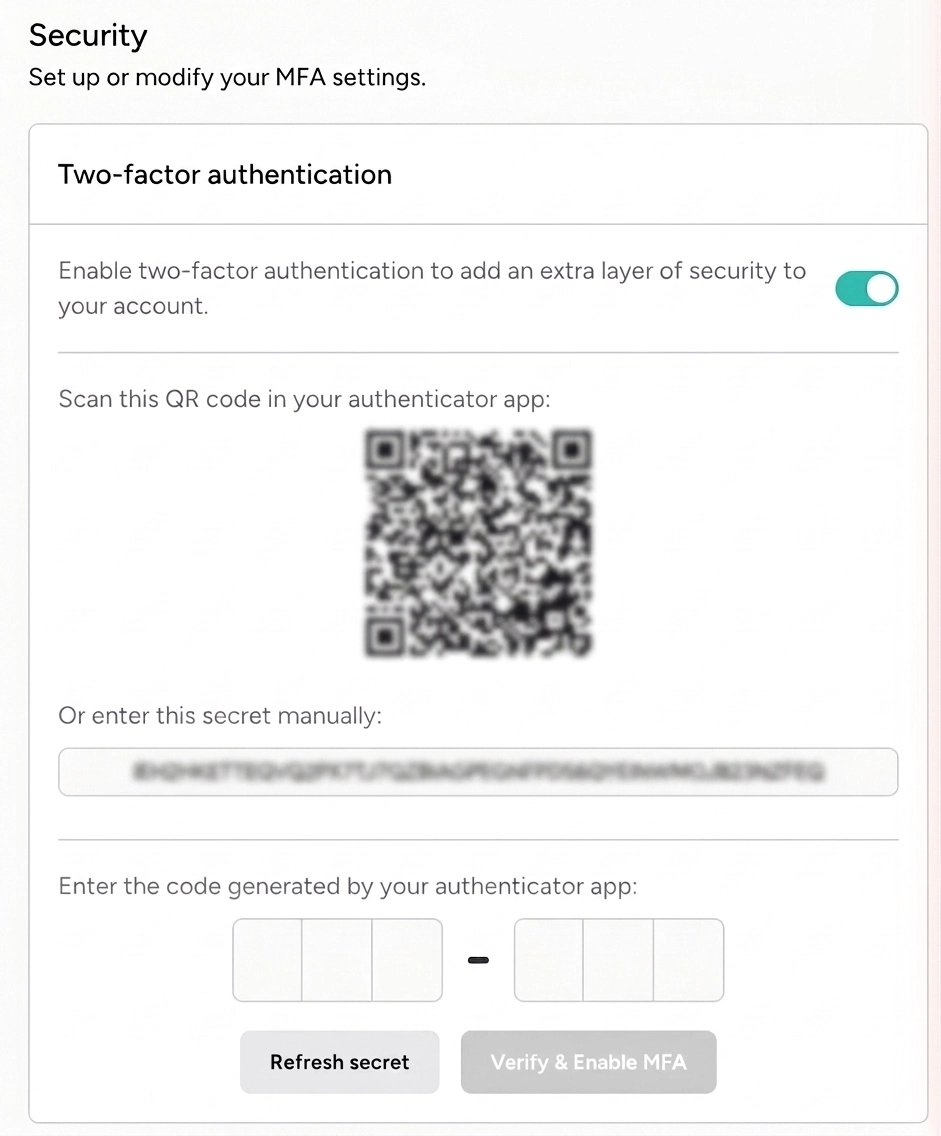
Turn on the toggle in the Security panel to add an extra layer of security to your account. Follow the on-screen steps to finish setup.
4. Workspace
Team members, Custom domain, and Developer are listed under Workspace. They were greyed out for my account, so I could not open them.
Manage roles
Not verified: the Workspace tab was greyed out for my account. Steps below are from the Intercom article.
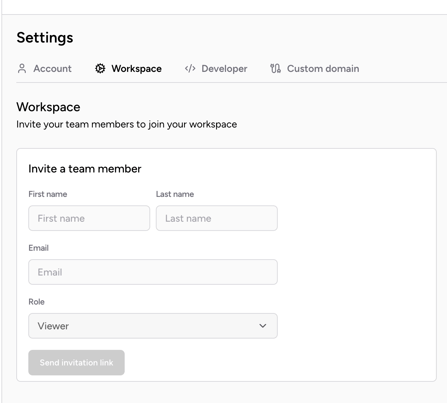
- Go to Settings and select the Workspace tab.
- Find the team member in the list of current members.
- Click the member's current role to open the drop-down, then choose the new role.
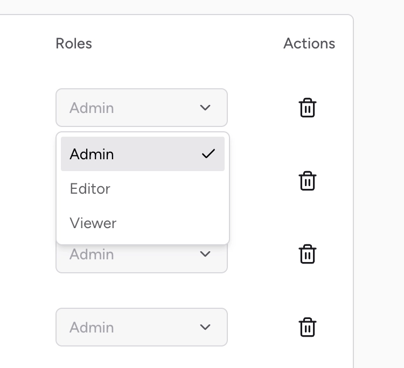
You can also open Settings from the Settings icon on the main page of the platform. This opens the Workspace tab directly.
Delete a team member
Not verified: taken from the Intercom article.
- Go to Settings > Workspace.
- Click the trash can icon next to the member.
5. Access and security
Groups
Click Add Group. The table columns are Name, Team members, and Roles. The dialog has Group Name (required), Group Description (required), Add team member, and Roles. Deleting a group asks "Are you sure you want to delete this user group?"
Roles
Click Add Role. The table columns are Name, Description, and Environments. The dialog has Name (required), Description (required), Environments (required: Live, Sandbox, Test), and Permissions (required). Permissions are grouped by subject, for example Process, User, Customer, Case, Transaction, and Workspace settings. Each permission has conditions such as "Standard access" or "Manage all alert views". Some permissions cannot be changed from this view.
SSO
- Turn on Enabled.
- Set the Allowed domain. Anyone with an email address at these domains can join the workspace automatically.
- Choose the Identity Provider: Entra ID or Google Workspace.
- Enter a Metadata URL (recommended) or upload a Metadata XML file.
- Check the attribute mappings: email, given_name, family_name, and groups.